
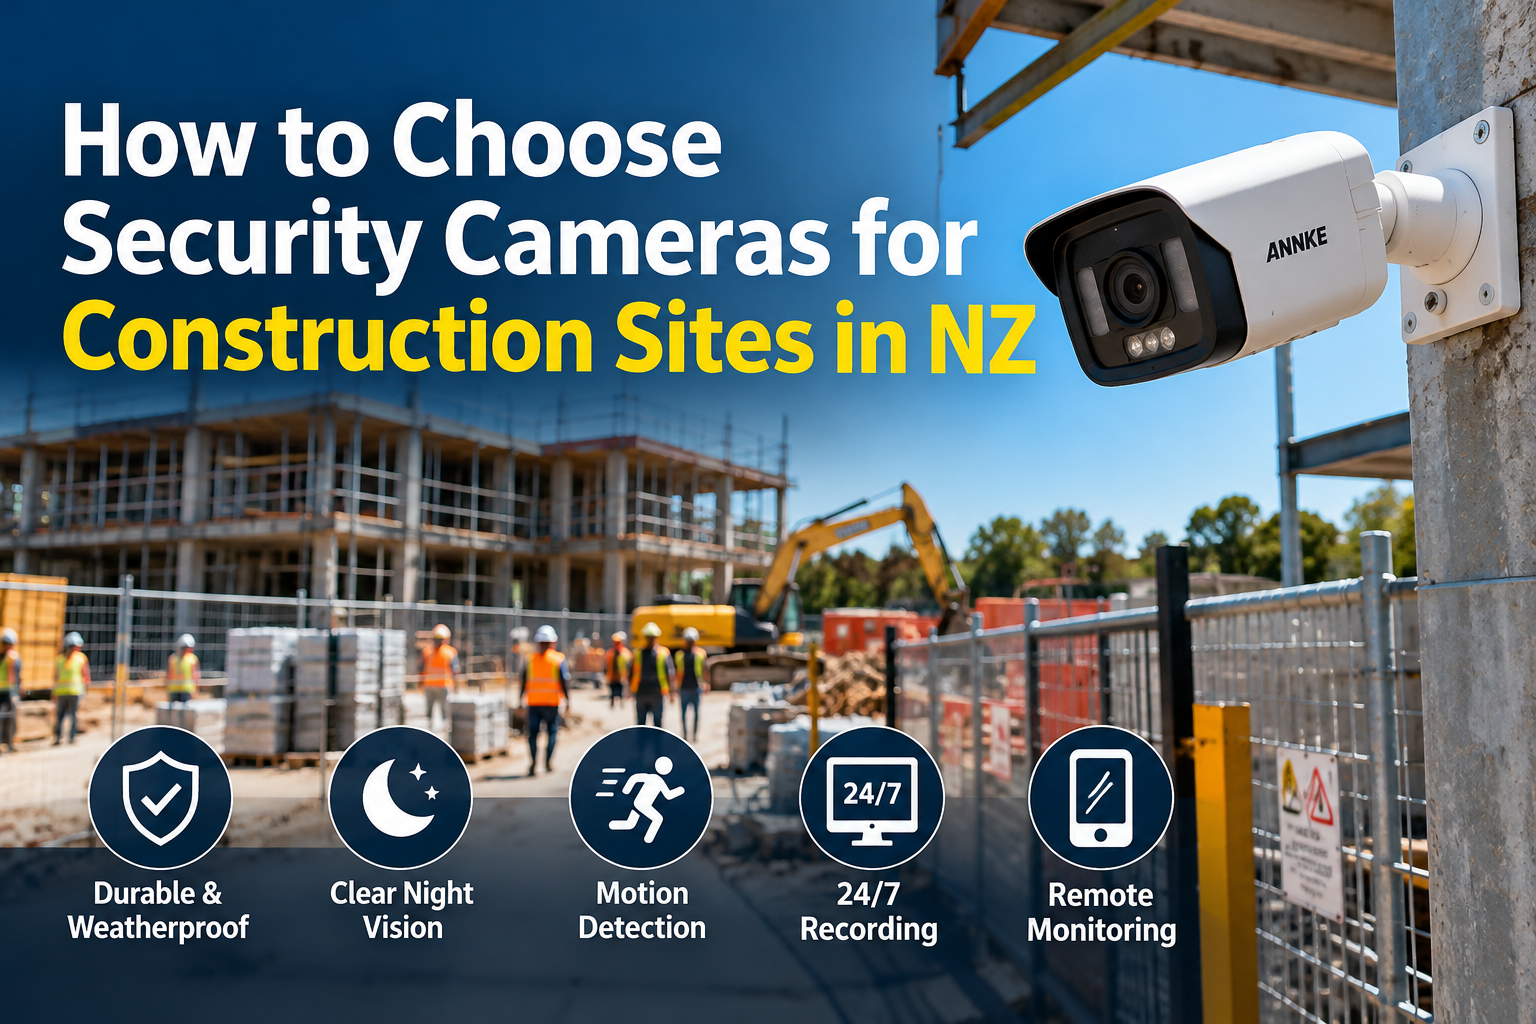
The reader is a builder or site manager comparing camera options before buying. Intent is commercial-investigational, so the article earns trust by teaching them to choose well, then points to the shop.
What ranks today. Page one for this query in NZ is dominated by monitored-security providers (Frontline and similar) selling a service, plus overseas brand case studies such as Hikvision’s solar 4G deployment on an Auckland site. Most read as sales pages: “use solar, use 4G, use AI” with little help deciding between options.
Where they are thin.
- No decision framework that matches camera type to project stage (bare earth, framing, lock-up, fit-out).
- Little on NZ privacy obligations, even though the Privacy Commissioner says CCTV footage of people falls under the Privacy Act 2020 and a privacy impact assessment should come first.
- Self-installed vs monitored is rarely compared honestly.
- Weather, coverage and power are mentioned but not turned into a checklist.
Angle. A buyer’s checklist built around how NZ sites actually change over a build: power, connectivity, coverage and privacy, decided in that order. Self-managed systems from the shop are positioned for small and mid-size builders; monitored services are named fairly as the better fit for some sites.
Semantic terms woven in: solar-powered camera, 4G / LTE, PoE, NVR, cloud storage, IP66/IP67, night vision, motion detection, human and vehicle detection, perimeter, site compound, plant and machinery, tool theft, signage, footage retention, privacy impact assessment.
The article
Heading levels are shifted down one step in this doc: the H1 line is marked, ### = H2, #### = H3 when you paste into WordPress.
H1: Construction Site Security Cameras NZ: How to Choose the Right System
A construction site is an easy target once the crew leaves. The gates are temporary, the fencing is mesh, and the compound is full of copper, timber, power tools and plant. Choosing construction site security cameras NZ builders can rely on isn’t about buying the most expensive kit. It’s about matching the system to a site that has no power on day one, changes shape every few weeks, and sits through everything a New Zealand winter throws at it.
This guide works through the decisions in the order that matters on a real build: power, connectivity, coverage, weatherproofing, storage, and your obligations under the Privacy Act. It ends with a clear comparison of self-managed and monitored systems, so you can pick the setup that fits your project and budget.
Why construction site surveillance is different
A shop or office gets one camera install that lasts for years. A building site needs a system that moves with the job. The site starts as bare earth with no mains supply, becomes a framed structure that blocks sightlines, and ends as a finished building that gets handed over.
The risks change too. Early on it’s plant, fuel and materials in the laydown area. During fit-out it’s tools, appliances and copper. A good building site security camera setup accounts for both, and can be repositioned without calling in an electrician each time.
Step 1: Sort out power first
Power decides almost everything else, so start here. Most sites fall into one of three situations.
| Power option | Best for | Watch out for |
|---|---|---|
| Mains or builder’s temporary supply with PoE | Sites with a site office or temporary board; longer projects | Cable runs across a changing site; outages if the temporary supply is switched off at night |
| Solar with battery | Greenfield sites, subdivisions, remote or early-stage work | Shorter winter days; panel orientation; battery capacity for cloudy stretches |
| Battery only | Short jobs, quick deployments, checking a specific problem area | Regular recharging; usually event-only recording |
For solar cameras in New Zealand, face the panel north and keep it clear of shade from scaffolding, containers and the building as it rises. Ask how many days the battery runs without sun, and size for a grey week in July, not a sunny week in January.
If the builder’s temporary supply is turned off after hours, a mains-powered camera goes dark exactly when you need it. Check how the site board is managed before relying on it.
Step 2: Choose how the cameras connect
The camera needs a way to send alerts and footage to your phone. There are three common approaches:
- 4G / LTE cellular: the default for most sites without a fixed internet connection. Check mobile coverage at the exact location of each camera, not just the street, because a site in a gully or behind a hill can have a much weaker signal. Coverage maps from Spark, One NZ and 2degrees are a starting point; a phone signal test on site is better.
- Wi-Fi from a site router: works when the site office has a fixed or 4G router. Range is limited, and steel framing or concrete can block signal as the build goes up.
- Wired to a local NVR: reliable and good for larger sites with a secure site office. The recorder itself must be locked away, or a thief can take the evidence with them.
On 4G, data use matters. Continuous streaming burns through a data plan quickly. Most site systems record locally and send short clips or alerts when motion is detected, which keeps data costs under control.
Step 3: Plan coverage before you buy
Walk the site and mark the places that need to be watched. On most builds, those are:
- The main entry gate and vehicle access, to capture number plates
- The site compound, containers and lockable storage
- Plant and machinery parking
- Material laydown areas, especially copper, cable and timber
- Perimeter sections that back onto reserves, empty sections or unlit roads
Then choose the camera type for each job. Bullet cameras suit long, narrow views such as a fence line or driveway. Turret and dome cameras give a wider view of a compound and are harder to tamper with. Pan-tilt-zoom (PTZ) cameras cover large open areas, but they only record where they’re pointing at any given moment.
Resolution, night vision and smart detection
Higher resolution only helps if the lens frames the target well. A 4K camera covering an entire paddock will still give you a face that’s too small to identify. Use one wide camera for overview, and a narrower camera on the gate to identify people and vehicles.
Most theft happens at night, so night performance matters more than daytime image quality. Infrared gives clear black-and-white footage in total darkness. Colour night vision uses a sensitive sensor and often a small white light, which helps identify vehicle and clothing colours.
Look for human and vehicle detection. Basic motion detection triggers on rain, wind-blown fencing scrim, birds and headlights, and a phone that pings all night soon gets ignored.
Step 4: Build for NZ weather and tampering
Outdoor CCTV for construction sites has to survive wind, horizontal rain, dust and, on coastal jobs, salt spray. Check the ratings:
- IP66: dust-tight and protected against powerful water jets. This is the practical minimum for site use.
- IP67: also protected against temporary immersion, which is useful for low mounts and exposed sites.
- IK10: the highest common impact rating, which matters if a camera is within reach of a thrown rock or a swung bar.
Mount cameras high enough to be out of easy reach, on secure poles, scaffolding or the site office. Make sure the mounting will hold in a gale. A camera that swings in the wind gives you blurry footage and constant false alerts.
Step 5: Decide where footage is stored
If thieves can find the recorder, they can take the evidence. Keep at least one copy of footage somewhere they can’t reach:
- SD card in the camera: simple and cheap, but it’s lost if the camera is stolen.
- NVR in a locked container or site office: good for multi-camera sites, but secure it and hide it.
- Cloud storage: clips are uploaded off site as they happen, so the evidence survives even if the hardware doesn’t.
The strongest setup combines local recording with cloud backup of alert clips. Decide how long you’ll keep footage, and set the system to overwrite automatically after that period.
Step 6: Meet your Privacy Act obligations
CCTV that records identifiable people collects personal information, so the Privacy Act 2020 applies to construction sites as much as to shops. The Office of the Privacy Commissioner’s CCTV guidance recommends a privacy impact assessment before installing cameras, and generally advises against recording audio.
In practice, for a construction site, that means:
- Have a clear purpose, such as preventing theft and protecting worker safety, and only use footage for that purpose.
- Put up signs at the site entrance and near the cameras so workers and visitors know cameras are operating.
- Angle cameras away from neighbouring houses, backyards and windows.
- Tell your crew and subcontractors about the cameras, ideally in your site induction.
- Keep footage only as long as you need it, store it securely, and control who can view it.
This isn’t legal advice. If your site sits close to homes or public spaces, check with the Privacy Commissioner’s resources or a lawyer before you install.
Self-managed vs monitored construction site CCTV in NZ
The last big decision is who watches the footage. Self-managed systems send alerts to your phone. Monitored services have a control room review alerts and respond.
| Self-managed system | Monitored service | |
|---|---|---|
| Who responds | You or your site manager | A monitoring centre, sometimes with guard response |
| Cost structure | Upfront purchase, plus data or cloud plans | Ongoing monthly fees, often on a contract |
| Ownership | You own the cameras and move them between jobs | Often rented as part of the service |
| Best for | Small to mid-size builders, residential jobs, multiple short projects | Large or high-value sites, remote projects, sites with repeated break-ins |
| Main drawback | Someone has to check alerts out of hours | Higher ongoing cost |
For many NZ builders running several residential projects, a self-managed system they own and move from job to job is the better long-term value. Large commercial sites with expensive plant may justify professional monitoring. Frontline Security’s guide to choosing construction site security cameras gives the monitored-service perspective if you’re weighing that option.
Matching the setup to your project stage
The right building site security cameras change as the job progresses. A rough guide:
| Project stage | Main risk | Suggested setup |
|---|---|---|
| Earthworks and foundations | Plant, fuel, materials | Solar 4G cameras on the gate and plant parking |
| Framing and roofing | Timber, tools, materials | Add coverage of the laydown area and compound |
| Lock-up and fit-out | Tools, copper, appliances | Cameras on entries to the building; move units inside if power is available |
| Handover | Vandalism, squatters on empty builds | Keep perimeter cameras until the client takes possession |
Construction site security cameras NZ: common mistakes to avoid
- Buying before checking coverage. A 4G camera without a usable signal is just a recorder.
- Relying on the builder’s temporary power. If it’s switched off at night, so is your camera.
- Using one wide camera to do everything. Overview cameras rarely identify anyone.
- Leaving the recorder in plain sight. Lock it away and back clips up to the cloud.
- Ignoring signage and privacy. It’s a legal obligation, and visible cameras deter theft too.
- Setting and forgetting. As the building rises, sightlines change. Walk the site each month and adjust the cameras.
Frequently asked questions
What is the best security camera for a construction site?
For most NZ sites, a solar-powered 4G camera with human and vehicle detection, strong night vision and at least an IP66 rating. It works without mains power or internet, and you can move it as the build progresses.
Do construction site cameras need power or internet?
Not necessarily. Solar cameras with a built-in battery and a 4G SIM run without mains power or fixed internet. You only need decent mobile coverage at the camera location.
Do I need signs for CCTV on a building site in NZ?
The Privacy Commissioner recommends making people aware that cameras are in use, and signs at the site entrance and near cameras are the clearest way to do that. Signs also deter would-be thieves.
Can I point site cameras at a neighbouring property?
You should avoid it. Angle cameras so they cover your site, not neighbours’ homes, backyards or windows. Recording beyond what’s necessary can raise privacy issues.
How long should I keep construction site CCTV footage?
Only as long as you need it for your stated purpose. Many businesses keep footage for a few weeks and set the system to overwrite automatically. Keep incident footage longer if police or insurers need it.
Are 4G security cameras expensive to run?
Running costs depend mostly on your data plan. Cameras that record locally and only upload clips when they detect motion use far less data than ones that stream continuously.
Should I choose a monitored or self-managed system?
Self-managed suits builders running residential or mid-size projects who want to own and reuse their cameras. Monitored services suit large, remote or high-value sites where someone needs to respond around the clock.
Choose once, then move it from job to job
The best construction site security cameras NZ builders can buy are the ones that work on your site, not the ones with the longest spec sheet. Solve power first, confirm connectivity, plan coverage around gates, compounds and plant, choose weatherproof, tamper-resistant hardware, keep footage off site, and meet your privacy obligations. Get that right, and you’ll have a system you can move from one project to the next.
Ready to set up your next site? Browse outdoor and solar security cameras in the ANNKE NZ shop, or visit ANNKE NZ to find the right kit for your build.
Image suggestions
Five images, one for each major decision. The first ALT text carries the exact focus keyword for SEO plugins; the rest use secondary keywords.
| Placement | Description | ALT text | Caption (optional) |
|---|---|---|---|
| After the intro | Solar-powered security camera on a pole overlooking an NZ residential build at dusk, timber frames and a site container in view | Construction site security cameras NZ: solar 4G camera watching a residential build | A solar 4G camera covers the site from day one, with no mains power needed. |
| Step 1, under the power table | Close-up of a north-facing solar panel and camera mounted on site fencing or a pole | Solar-powered building site security camera facing north on a NZ construction site | Face solar panels north and keep them clear of scaffolding shade. |
| Step 3, after the coverage list | Simple top-down site plan marking gate, compound, plant parking and laydown area with camera icons and fields of view | Construction site surveillance plan showing camera coverage of gate, compound and plant | Plan coverage around the gate, compound, plant and materials before buying. |
| Step 4, beside the IP rating list | Camera in heavy rain with water beading on the housing | Weatherproof outdoor CCTV for construction sites in heavy rain | IP66 is the practical minimum for an NZ site. |
| Step 6, privacy section | CCTV warning sign on site fencing at the entrance gate | Construction site CCTV NZ warning sign at a building site entrance | Signage keeps you on the right side of the Privacy Act and deters theft. |
 No products in the cart.