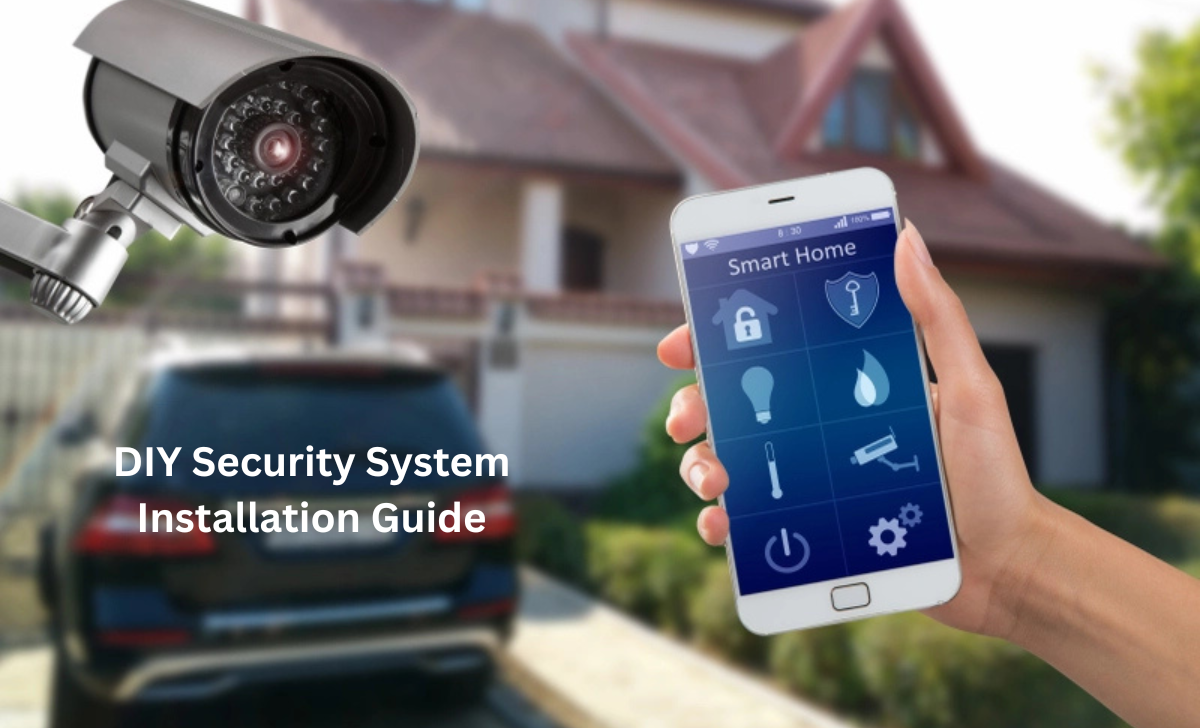
Your home is your safe space and protecting it shouldn’t require a professional technician or a hefty service fee. With modern smart devices, setting up your own DIY security system is easier than ever. Whether you live in an apartment or a full-sized home, this guide walks you through every step to keep your property secure and your peace of mind intact.
DIY Security System Installation Guide
Why Choose a DIY Security System?
A DIY security system gives you control, flexibility, and savings. You can customize it to your needs from motion sensors and cameras to door alarms and smart locks. Plus, you skip the installation costs and monthly monitoring fees that come with traditional systems.
Benefits include:
No professional installation needed
Easy setup and expansion
Remote monitoring via smartphone
Budget-friendly home protection
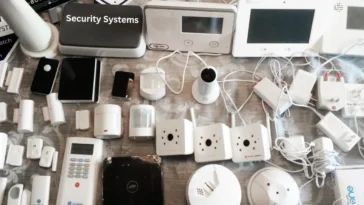
What You’ll Need Before You Start
Before diving in, make sure you have:
A reliable Wi-Fi connection
- Your security devices (cameras, sensors, alarms, etc.)
- Mounting tools (screwdriver, drill, or adhesive strips)
- A smartphone or tablet for app setup
Step-by-Step DIY Security System Setup
Step 1: Plan Your Layout
Identify high-risk zones entry doors, windows, garage, and backyard. Sketch a layout and decide where each camera or sensor should go for maximum coverage.
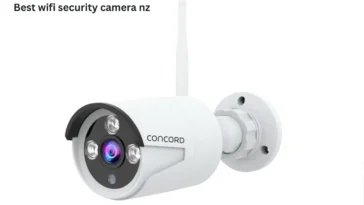
Step 2: Mount Cameras and Sensors
Install your cameras at eye-level or slightly above, aiming toward entry points. Use screws for stability or adhesive mounts for rental-friendly setups.
Step 3: Connect to Wi-Fi
Use the system’s app to connect each device to your home network. Ensure your Wi-Fi signal is strong in every area for smooth streaming and alerts.
Step 4: Configure Alerts and Modes
Customize motion sensitivity, notification preferences, and arm/disarm schedules. Many systems let you create automation like turning on lights when motion is detected.
Step 5: Test Everything
Do a trial run. Trigger sensors, check camera angles, and ensure notifications arrive instantly. Adjust placements or settings as needed.
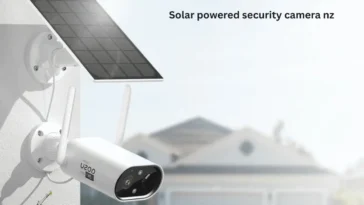
Bonus Tips for a Stronger DIY Setup
Use solar-powered cameras for outdoor coverage.
Enable two-factor authentication for your app.
Regularly update firmware to enhance security.
Consider adding smart doorbells or window alarms for extra layers of protection.
FAQs
1. Is it easy to install a DIY security system?
Yes! Most DIY security systems are designed for simple installation. With clear instructions and mobile app guidance, you can set everything up in under an hour.
2. What tools do I need for a DIY security system installation?
Usually, you’ll need basic tools like a screwdriver, drill, or mounting tape. Some systems use adhesive strips, so you may not need any tools at all.
3. Do DIY security systems require Wi-Fi?
Most modern DIY systems use Wi-Fi to send alerts and stream live footage. Ensure you have a stable connection, especially for outdoor cameras.
4. Can I monitor my DIY security system remotely?
Yes. Most systems come with companion apps that let you view live footage, receive motion alerts, and control devices remotely from your smartphone.
5. Are DIY security systems as effective as professional ones?
Absolutely. With the right placement and configuration, DIY systems can offer the same level of protection minus the high installation and monitoring costs.
Conclusion
Installing a DIY security system isn’t just about saving money it’s about empowerment. You’re taking charge of your safety, one smart device at a time. With the right setup and a few easy steps, your home can be as secure as any professionally monitored system.
 No products in the cart.